
There’s nothing worse than a lifting acrylic nail. The sensory horror of hair getting stuck underneath, snagging on your clothes, and looking aesthetically unpleasant is enough to ruin your day.
Improper application, natural nail growth, and everyday wear and tear can all lead to this frustrating issue. It affects how your nails look and can pose a risk of infections if not addressed promptly. But don’t worry! We can share easy solutions to help you fix this problem without removing your acrylics. With a little care and attention, your nails will be looking fabulous again!
Here are 10 beginner-friendly ways to fix lifting acrylic nails without removing them so that your nails look flawless and professionally polished.
Prep: Clean the Lifted Area
Before jumping into fixing a lifted acrylic nail, check for moisture or damage underneath the acrylic. Moisture trapped between your natural nail and the acrylic nail creates the perfect environment for bacteria and fungus to grow, potentially leading to infections or nail damage.
If you see discoloration, smell unpleasant odors, or feel tenderness, consult a dermatologist or licensed nail technician. They can help with cleaning the affected area and preventing bacteria growth.
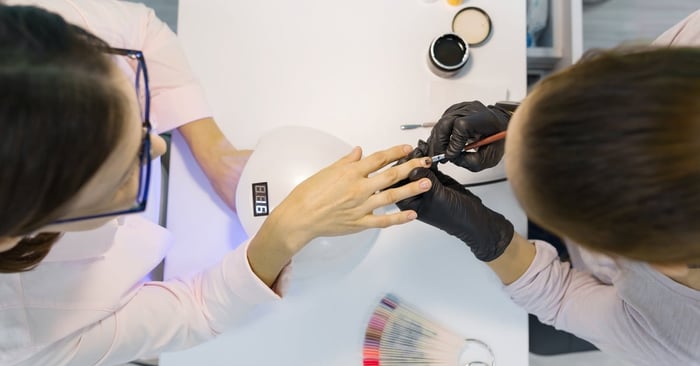
1. Remove Loose Edges Gently
When you use a sanitized cuticle pusher or a flat-edged tool, gently lift and trim loose acrylic edges. By concentrating solely on the lifted section, you prevent further weakening. Keep in mind that excessive removal may cause unwanted abrasion, so proceed with care for the best outcome!
Pro Tip: Investing in sterile, high-quality tools reduces the risk of introducing bacteria while fixing your nails.
2. Cleanse and Dehydrate the Nail
Preparing the nail is essential for achieving long-term fixes, and doing it right can mean the difference between a quick fix and a broken nail! To begin, thoroughly clean the exposed nail. You can use a nail dehydrator or isopropyl alcohol for this task. This will eliminate oils, dirt, and pesky bacteria lurking around. Dehydration helps the nail products stick to the nail bed!
We recommend using a nail primer and dehydrators specially formulated for addressing lifted areas. With these products, you’ll notice improved adhesion performance.
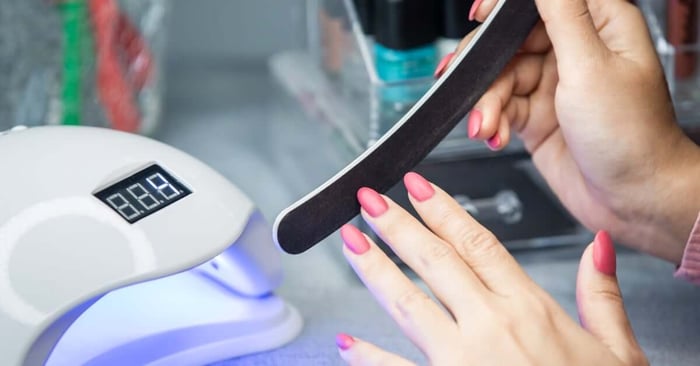
3. Blend the Lifted Area
One of the best tricks among professional nail techs is the gentle technique of lightly filing the lifted section of acrylic nails. This simple yet effective method helps to blend the lifted area seamlessly with the surrounding nail, creating a beautiful, cohesive look.
Grab a fine-grit nail file (around 180 grit works perfectly). Then, hold the nail file at a 45-degree angle. Smooth the edges gently to avoid harming the natural nail.
With precision filing, you can level out the surface of your nails, making them ready for those touch-ups! The key is to take your time and be gentle; your nails deserve the best care!
4. Apply Cover Acrylic Powder
Consider using a top-notch acrylic product, such as cover acrylic powder, to bring back strength, repair damage, and blend the repaired nail with the rest of your manicure. This versatile option does a fantastic job of filling in gaps and creating a smooth and natural appearance. Plus, it lasts a long time when used with a monomer.
To achieve that smooth and professional finish, opt for powders with self-leveling properties. They contribute to a smooth surface with minimal filing required later, conserving your time and effort!
5. Seal With Nail Glue
If you notice minimal lifting but you don’t have time to fix it thoroughly, don’t worry! Add a few drops of nail glue underneath the lifted acrylic, then press firmly to secure it.
Patience is key—allow it to dry completely before adding finishing touches. This quick application method is excellent for on-the-go fixes when you need your nails to look their best.
6. Buff for Smoothness
To make your repaired nail blend with the rest, you can lay out the uneven textures caused by the repair. A soft buffing block can enhance smoothness, especially in areas where you added acrylic powder or glue. The smoother the surface, the more professional your results. Feel free to give it a few tries until it’s exactly how you want it.
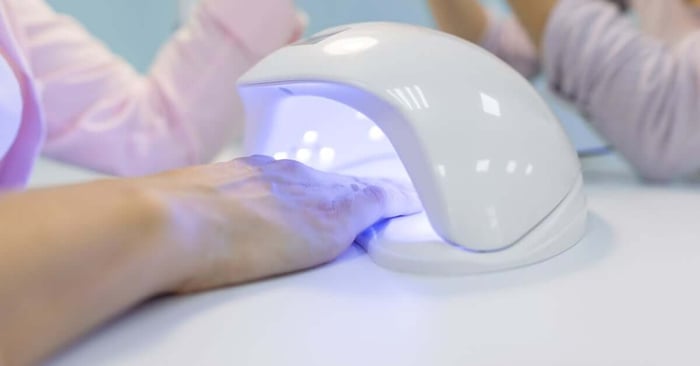
7. Reinforce the Seam With a Gel Coat
Reinforcing your beautifully repaired nails with a gentle layer of hard gel or builder gel is an excellent way to strengthen them. Grab a brush, and carefully spread the gel across the repaired area and the surrounding edges, applying it evenly.
Then, pop your nails under an LED or UV lamp for curing. This extra step enhances the look of your nails and guarantees their durability until your next acrylic application.
8. Avoid Over-Filing the Natural Nail
Over-filing your natural nail beneath the acrylic layer can weaken the quality of the repair, leading to a thinner nail plate that could make your natural nail brittle. Be mindful of the layers you’re working on, and limit scraping or filing your natural nails to preserve their strength and health.
When choosing products for your nail care routine, always opt for products that support blending purposes. This will keep your natural nails in good condition while achieving a polished appearance for your acrylic set.
9. Add a Strengthening Overlay
Using a clear acrylic or gel overlay can boost the longevity of your repaired nail! These overlay applications work like protective shields, minimizing the chances of future lifting.
When you’re applying the overlay, make sure the product adheres completely to the acrylic and blended zone for the best hold. With this added strength, you’ll enjoy fewer lifting nails down the line!
10. Follow Regular Nail Care Practices
Routine maintenance plays a significant role in preventing future lifting. Be cautious when performing activities that strain your nails, like opening cans or typing forcefully on a keyboard. Hydrating your cuticles with cuticle oil once or twice daily supports healthy nail beds.
Additionally, timely fills of your acrylic set every two to three weeks can prevent excessive lifting as your natural nails grow out underneath.
Flawless Fixes Made Easier
By following these ways to fix lifting acrylic nails without removing them, you’re saving time and extending the life of your set. Whether using cover acrylic powder or reinforcing with overlays, each step enhances your nails’ durability and aesthetic appeal.
Mia Secret’s professional-grade nail products provide the perfect solution to elevate your nail game. Equip your kit with the tools trusted by salon pros, from self-leveling acrylic powders to expert-grade monomers. Browse the Mia Secret store today to keep your nails looking fantastic!