

Achieving a flawless acrylic application isn’t just about the acrylic powder or the brush you use. What happens before the application is just as important. A step often overlooked by beginners and even some seasoned nail technicians is using a nail dehydrator.
It’s a small but mighty product that ensures your acrylics last longer and stay intact without lifting or peeling. The role of nail dehydrators in acrylic application isn’t just functional; it’s foundational for professional-quality results. Whether you’re just starting as a nail technician, or you’re a seasoned pro aiming to perfect your craft, here are some key tips to take your acrylic skills to the next level.
What Is a Nail Dehydrator?
A nail dehydrator is a formulated liquid designed to remove natural oils from the nail bed. These elements can disrupt adhesion, leading to lifting, peeling, or even premature acrylic wear. Using a nail dehydrator creates a clean, moisture-free surface for a long-lasting bond between the natural nail and acrylic enhancements.
It’s important to note that nail dehydrators don’t harm the natural nail. Instead, they improve efficiency and durability in acrylic application, making them a must-have for professionals and enthusiasts alike.
Why Nail Dehydrators Matter for Acrylic Applications
Nail dehydrators play an essential role when achieving flawless and long-lasting acrylic applications. They ensure a pristine base for acrylic adhesion and minimize common issues like lifting or uneven curing. Below, we’ll explore why nail dehydrators are indispensable in the acrylic application process.
Prevents Acrylic Lifting
One of the biggest concerns during acrylic application is lifting. Lifting typically happens when moisture or oils on the nail plate create a barrier that prevents the acrylic from adhering properly. Nail dehydrators remove this obstacle entirely, significantly improving adhesion.
Prolongs the Wear of Acrylic Applications
Nail dehydrators pave the way for stronger bonds, allowing acrylics to stay put for longer periods. The acrylic can adhere firmly to the nail plate by removing excess oils, preventing breakage.
Creates a Smooth Canvas for Application
A smooth surface is crucial for a professional-looking acrylic finish. Nail dehydrators help achieve this by removing invisible oils and impurities that can interfere with the application process, allowing the acrylic to bond evenly and securely.
How To Use a Nail Dehydrator for Best Results
Proper nail dehydrator use is essential for achieving an excellent acrylic application. This step ensures better adhesion and longer-lasting results by prepping the nail surface. Here’s how you can easily incorporate this important step into your routine.
Step 1: Prep the Nail Plate
Start by gently filing and shaping the client’s natural nails to their desired length and shape. Buff the surface lightly to remove the natural shine and create a textured base for the acrylic. Be sure not to over-file, as this can weaken the natural nail.
Step 2: Clean the Nail Plate
Clean the nail plate thoroughly with a lint-free wipe soaked in alcohol or nail cleanser. This step removes surface-level dirt and residue, creating a clean surface before applying the dehydrator.
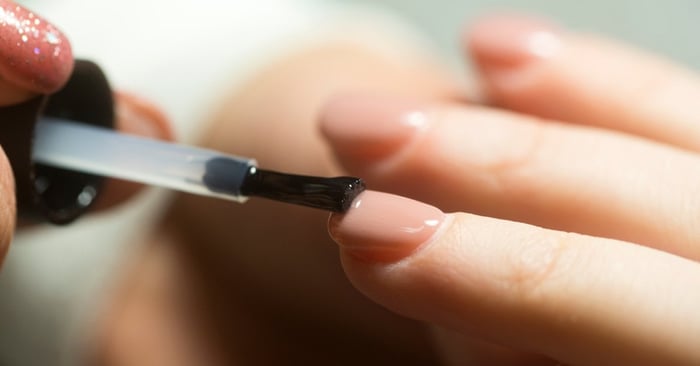
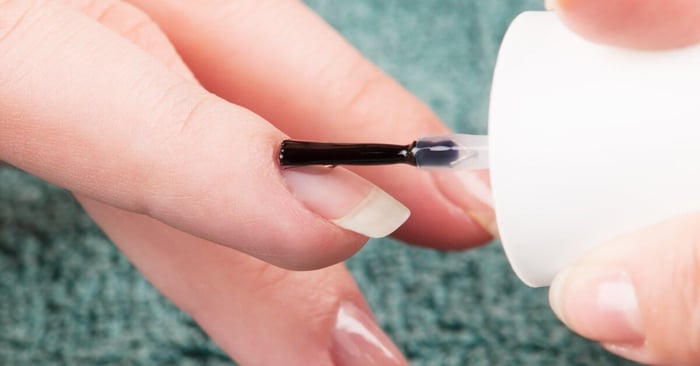
Step 3: Apply the Nail Dehydrator
Apply the nail dehydrator evenly across the entire nail plate using a small applicator brush. Focus on the edges near the cuticles and sidewalls, as lifting often begins in these areas. Allow the dehydrator to evaporate completely for a few seconds.
Step 4: Follow With a Nail Primer
Apply a nail primer immediately after the dehydrator has dried completely. Nail primers enhance adhesion by chemically bonding the acrylic to the natural nail. This ensures a stronger, longer-lasting hold, reducing the chances of lifting or damage over time.
Step 5: Proceed With Acrylic Application
Once the dehydrator and primer have been carefully applied to prepare the nails, you can move on to applying the acrylic. To achieve the most professional results, be sure to follow the instructions provided with your acrylic system, as each system may have unique steps or guidelines.
Tips for Choosing the Right Nail Dehydrator
With so many options on the market, selecting the right nail dehydrator for your needs can feel overwhelming. Here are some factors to consider:
- Compatibility: Ensure the dehydrator you choose is compatible with your acrylic system. Some brands design their products to work best when used together.
- Drying time: Look for a dehydrator that dries quickly, allowing you to maintain a smooth workflow during appointments.
- Low odor: Some dehydrators have a strong scent. Opt for a low-odor formula if you or your clients are sensitive to odors.
- Ease of application: A dehydrator with a precision brush applicator makes it easier to apply the product evenly across the nail plate.
Debunking Common Myths About Nail Dehydrators
There’s a lot of misinformation surrounding nail dehydrators, from whether they’re truly necessary to concerns about their impact on the natural nail. Many aren’t sure if they’re safe, effective, or just another unnecessary step. Let’s set the record straight and clear up the confusion.
“Nail Dehydrators Are Only for Professionals”
While essential in professional settings, nail dehydrators are equally important for at-home enthusiasts who want long-lasting, salon-quality results. They help create the perfect base for your manicure, ensuring better adhesion and durability.
“Using a Nail Dehydrator Weakens the Natural Nail”
Nail dehydrators don’t strip or damage the natural nail. They work by gently removing surface oils and moisture, which helps improve polish adhesion or enhancements. They’re a safe and effective step for a long-lasting manicure.
“You Can Skip the Dehydrator If You Use a Primer”
While primers and dehydrators both improve adhesion, they serve different purposes. A dehydrator removes oils and moisture, while a primer creates a chemical bond between the natural nail and acrylic. Skipping either step can compromise your results.
Making Nail Dehydrators an Essential Part of Acrylic Application
By now, it should be clear that the role of nail dehydrators in acrylic application goes beyond simply prepping the nail. They are indispensable for maintaining acrylic enhancements’ integrity, durability, and aesthetics. Whether creating a bold stiletto shape or a subtle French tip, using a nail dehydrator ensures lasting results.
Achieve flawless acrylic nail applications every time with our acrylic nail system kits. These kits are designed for professionals and enthusiasts and provide all the essential tools for beautiful and durable results. Visit our website today to explore the full range and find the perfect kit for your needs!