
Doing your nail art at home is a great way to add a personal touch to your style. It might initially seem intimidating, but it’s much simpler than you’d think. You can create stunning designs without leaving the house with the right tools and a little practice. With our quick guide to a few DIY nail art with easy designs to try at home, you can easily create trendy, beautiful nails.
Why Nail Art at Home Works
Taking the do-it-yourself route with nail art can save both time and money compared to visiting salons. Beyond the practicality, it allows for full creative control. This means you can experiment with colors, patterns, and design techniques to suit your mood or outfit without any limits.
Tools and Tips for Success
Before jumping into patterns or bold styles, set up a solid foundation. Prepping nails properly makes all the difference in how nail art turns out. Here are a few tools and tips to help you show off your creativity.
Start With Prep
Begin by removing old polish and shaping your nails evenly. A slightly rounded or square tip works well for most designs. Afterward, smooth the nail surface using a buffer and apply a nourishing cuticle oil. Be sure to wash the nail beds with soap to prevent designs from peeling due to natural oils.
Use a Base Coat
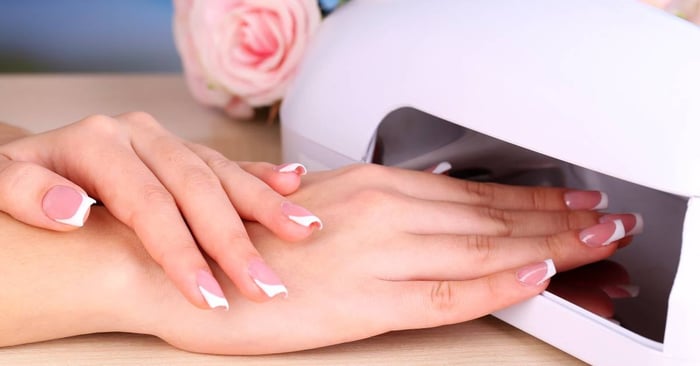
Applying the base coat is one of the most forgotten steps when doing DIY nails. A base coat protects the nail from damage, staining, or discoloration from polish. This step also makes the surface smooth for layering polishes and designs.
Invest in Tools (or Household Alternatives)
Dotting tools, striping brushes, and sponges are immensely helpful when experimenting with different styles. If these aren’t readily available, objects like toothpicks, tape, bobby pins, or even a makeup sponge can work as effectively.
Less Is More
While having more complex styles is trendy, less is more—especially for a beginner. Simpler designs, like stripes or polka dots, can create striking looks without requiring advanced skills. Starting with these basics can build confidence for more intricate designs later.
Practice Thin Coats
Using thin coats of polish prevents smudges and shortens drying times, keeping your designs sharp and clean. It also helps the polish last longer by reducing the chances of chipping. For the best results, make sure each coat is fully dry before applying the next one.
Easy DIY Nail Art Designs
Now that we’ve covered the basics, it’s time to experiment with designs that balance style and simplicity. These trending, easy-to-create looks are a fantastic starting point.
1. Polka Dot Fancy
Polka dots are among the easiest designs to try. Begin with a base color of your choice (white or pastel shades work well). Once the nail polish dries, dab a bobby pin or the end of a straightened paperclip into a contrasting polish to create dots across the nails. You can go for scattered dots, create symmetrical patterns, or add just one statement nail to keep it subtle.
2. Tape-Defined Stripes
Start with a clear or solid-colored base coat. Once it dries, cut thin strips of scotch tape to use as stencils. Place them diagonally (or vertically) across the nails. Apply a second color of polish over your nails and peel the tape away to reveal precise lines.
3. Two-Tone Blocked Nails
Two-tone designs give a fashionable, modern look with minimal effort. Pick two complementary colors and paint half of your nail with one shade. After it dries, carefully add the second color to the other side. You can use painter’s tape as a guide for cleaner lines. Alternatively, a slight overlap works for an edgy twist.
4. Ombre Gradient
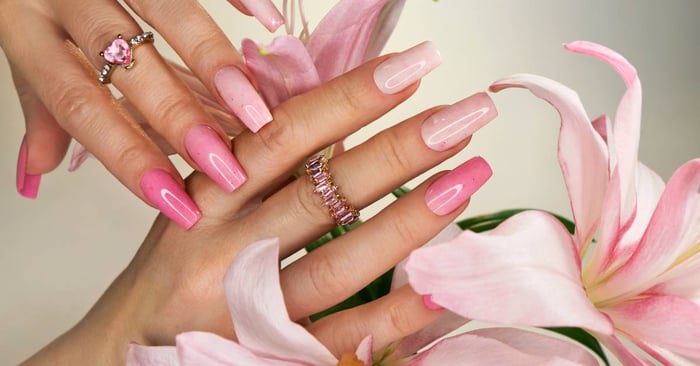
Gradients create that elegant salon look everyone loves. To achieve this at home, grab a small makeup sponge. Choose two or three polishes that blend. Paint the sponge with horizontal strips of each shade in the sequence you want them to appear. Be sure to dab the sponge onto the nail repeatedly for a seamless gradient effect, adding multiple layers as needed.
5. Floral Accents
Floral patterns may feel intimidating, but they’re easier than they look. After applying a base coat, use a small dotting tool to create five small circles in a flower shape. Add a smaller, contrasting dot in the center to complete the look. These flowers pop on neutral base colors, like pale pink or nude.
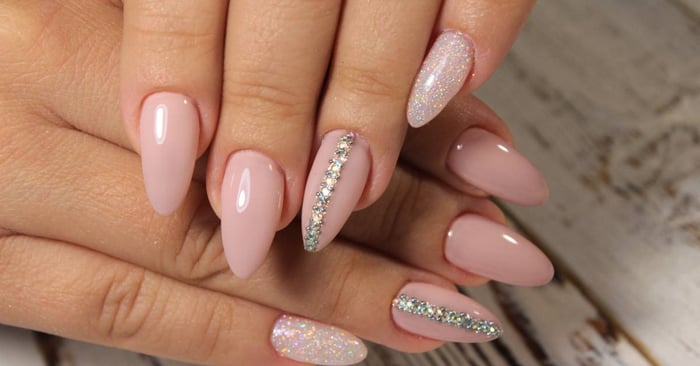
6. Glitter Accent Nails
For major impact with minimal effort, glitter polish is your best friend. Apply it to one or two nails per hand to elevate a plain polish color. To step up the game further, layer glitter at the base of each nail and gradually disperse it upward for a sparkling gradient effect.
Building Confidence
Practicing designs over time builds muscle memory, making intricate patterns feel second nature. Don’t be afraid to experiment with different tools, seasonal colors, or themed patterns. Mistakes happen, but they can also lead to happy accidents that create designs better than planned.
One of the most enjoyable aspects of creating nail art at home is that it becomes a personal creative outlet. As designs improve, the satisfaction of showcasing work done entirely by hand grows.
Finishing Touches Matter
To achieve long-lasting nail art, sealing with a top coat is critical. It protects designs from chipping and adds a glossy (or matte) finish based on preference. Touch-ups between designs also keep nails healthy and ready for your next art adventure. Plus, keeping your hands hydrated by applying moisturizing cream daily complements beautiful nails, giving your at-home creation a polished look.
Unleash Your Creative Flair
Creativity, personal expression, and the ability to try as many styles as desired make nail art an unbeatable activity to explore. With these easy DIY nail art designs, anyone can approach nail art with confidence and excitement.
A dash of polish, a bit of patience, and the right tools are all it takes to create nails that turn heads and radiate personality. Now is the perfect time to experiment—your next design might inspire others! Elevate your nail art with MIA Secret’s versatile gel nail systems, which are ideal for beginners and pros alike. Visit our website to explore the range and start your next masterpiece today!